The answer to this question depends on a few factors. Generally speaking, any standalone ECU from Link, Haltech, ECUMaster, DTA Fast, Motec, MaxxECU etc will do the job perfectly. The 4E-FTE, 4E-FE and 5E engines are fairly simple 4 cylinder engines so most of the base model ECU’s will do the job. One thing to think about when choosing an ECU is where will you have the car mapped? Picking an ECU which your mapper will be comfortable tuning will usually yield the best results or if you really want a particular brand, be prepared to travel to someone familiar with the platform.
Trigger inputs
If you are using the 4E-FTE cam sensor as the trigger then you will need to make sure the ECU has 2 trigger inputs. If you have a late model 4E-FE or 5E engine with the 36-2 crank trigger (or you have retro fitted a missing tooth trigger wheel to your crankshaft) then you can use a single trigger input ECU such as the MaxxECU Mini and run it in wasted spark. You will need a cam sync signal for fully sequential.
Do I need a more expensive ECU to make more power?
There is a common misconception that you need a more expensive ECU to make more power. In fact, usually you can make the same power figures on a manufacturers base model ECU as you can on the most expensive model.
See this article from High Performance Academy who explain this subject in depth https://www.hpacademy.com/technical-articles/which-standalone-ecu-is-the-best/
If most standalone ECU’s will produce the same power then why would I get a more expensive model?
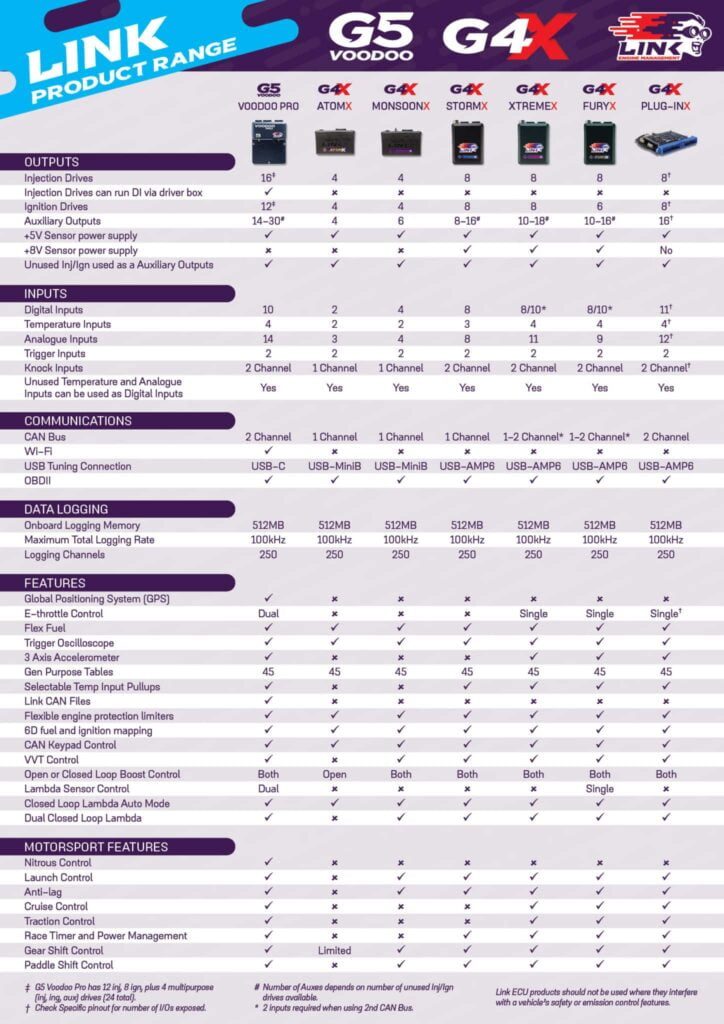
In a word, features. Base models will often have just enough inputs/outputs for the engine to run but be missing some more advanced features like onboard wideband (most ECU’s can add this using a CAN wideband module), drive by wire (e-throttle), sometimes they are missing additional engine safety features such as knock sensor input/control (knock input is available on all Link ECU’s), additional temperature, analogue inputs, pulsed speed inputs for wheel speed and outputs etc.
See the Link ECU comparison list below
Our ECU recommendations
We like the Link ECU range as the software is really easy to use, the support has been fantastic any time I’ve created a forum post, they are really common so lots of tuners know them and the documentation is really good as well so anything you aren’t sure about you can learn from the PC Link help files. You could probably learn to tune your car using the Link help files alone.
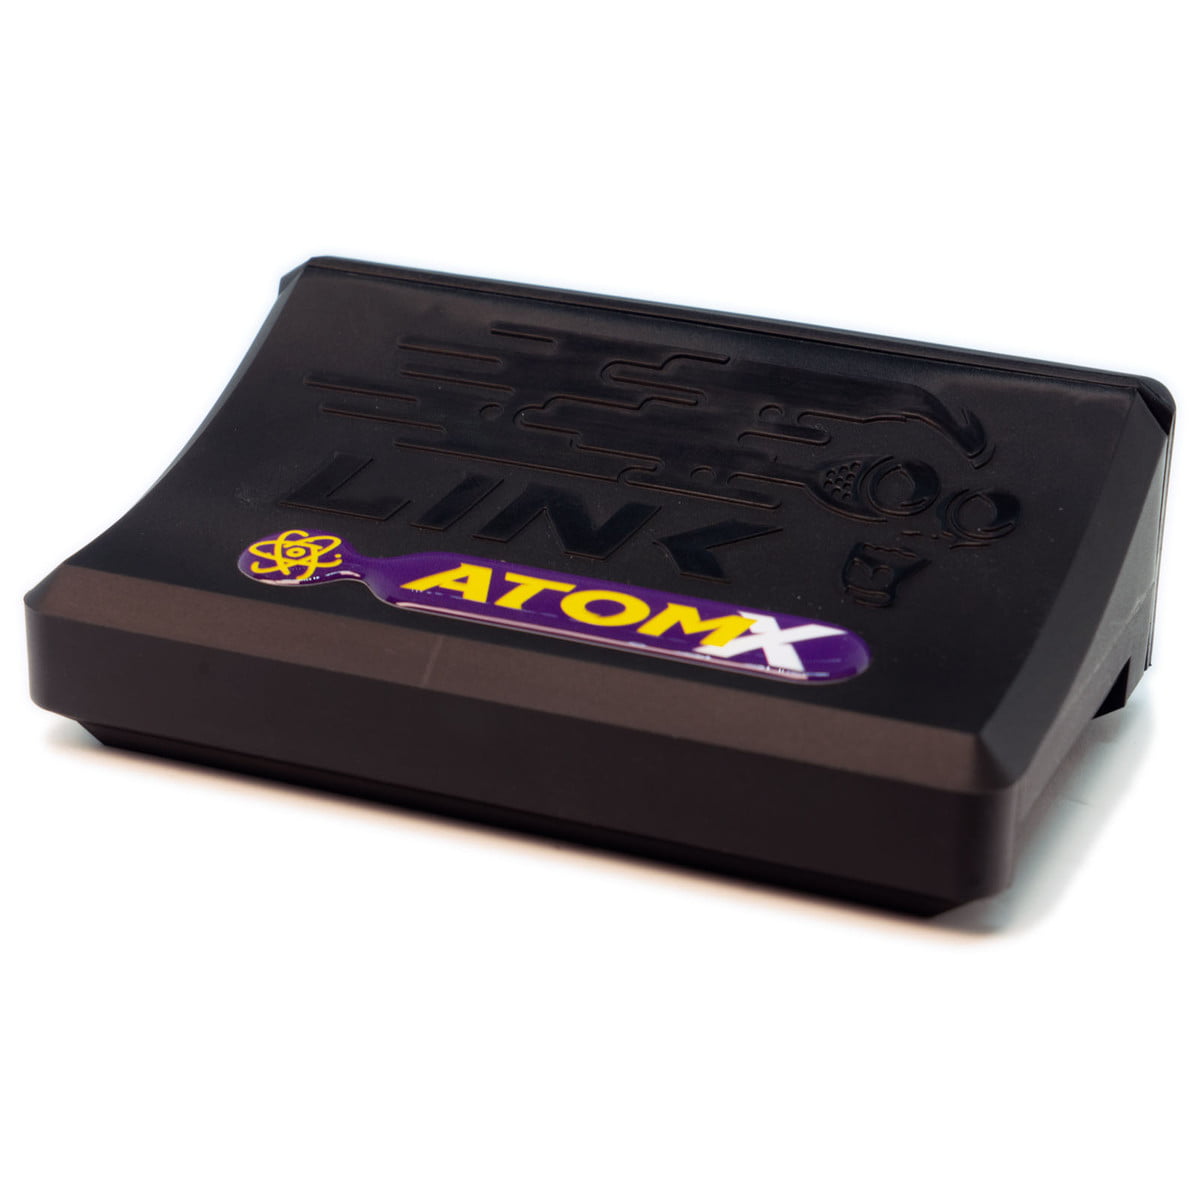
- Link G4X AtomX – This ECU is the perfect for most people, I personally ran the G4+ version of the Atom for 4 years. I would highly recommend adding a wideband input using the Link CAN Lambda module if you are tuning the car yourself or for closed loop fuel control.
- Link G4X MonsoonX – Very similar to the Atom but comes with a few more inputs and outputs and motorsport features such as launch control and anti-lag. One additional feature worth pointing out is the built in 4 Bar MAP sensor meaning you don’t need to wire a map sensor in. You can also add DBW/E-Throttle to this ECU using the Link E-Throttle Module at the cost of 3 ECU outputs.
- Link G4X FuryX – This is the big daddy of the Link G4X lineup and is overkill really but this ECU does it all. Way more ignition and injector outputs than you will probably need. Built in E-Throttle/DBW and wideband without using any external modules. Can run 4 wheel speed sensors for the ultimate traction/launch control. This is the ECU I’m currently using myself.
-
Product on sale
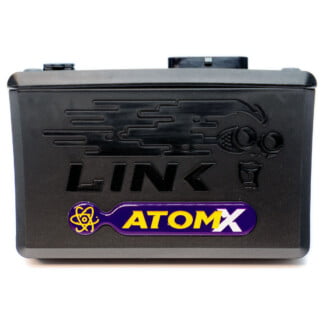 Link G4X AtomX ECUOriginal price was: £870.00.£739.50Current price is: £739.50.
 -
Product on sale
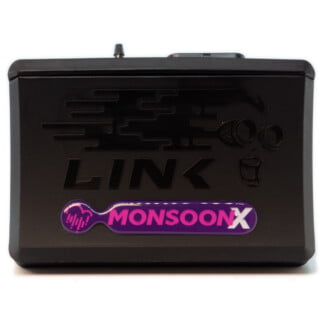 Link G4X MonsoonX ECUOriginal price was: £1,134.00.£963.90Current price is: £963.90.
 -
Product on sale
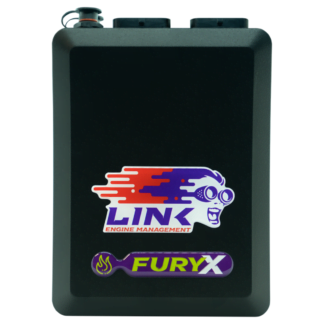 Link G4X FuryX ECUOriginal price was: £2,070.00.£1,759.50Current price is: £1,759.50.
Which ECU should I avoid?
The following is just my opinion so don’t take it as fact. I won’t personally wire either product due to the following reasons.
- Greddy EManage Blue / Ultimate – These piggyback ECU’s are getting pretty old now, while they do work fine for the most part the main issue you face is the operating system you need to tune them is Windows 7 (32 bit) which is long discontinued. The E-Manage blue has been discontinued for a while but the ultimate seems to still be available new. They are also fairly expensive for how old they are.
- HKS F-Con – Again, same reason as above. They are getting on now and tuning them will be more difficult as time moves forward.
What about sensors?
For the most part I would recommend using this opportunity to swap out your 20+ year old temperature sensors for new ones. I’ve made a list of recommended sensors on another page.
Link to sensor recommendations
Where should I get my car mapped?
I highly recommend Chris at Dyna Tune in East Kilbride, Scotland. Dyna Tune have an awesome Dynapack Hub Dyno and Chris is a Starlet owner himself so is very knowledgeable on the 4E/5E platform. Dyna Tune have developed EP parts along with us and supply all the Link ECU products for EP Wiring customers. I hire out their dyno to tune my own car.
For people further south in the UK the following tuners are recommended by the community, RaceCal and SSA Performance. Note that I don’t have any personal experience with either company so please do your own research.
Can I map my car myself?
You can! But you must be prepared to commit at least 30-40 hours to learning how to do it. I personally mapped my own car at Dyna Tune when I made my first wiring harness for my Glanza V back in 2016. I used High Performance Academy’s courses which are awesome.
How do I fit a standalone ECU to my car?
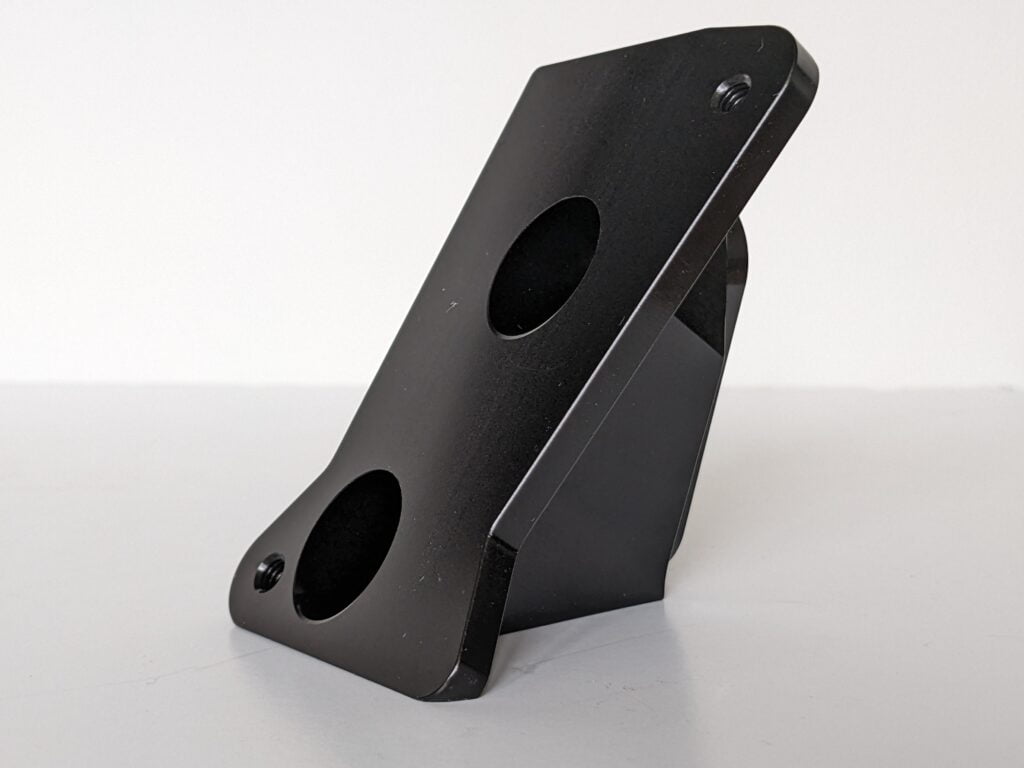
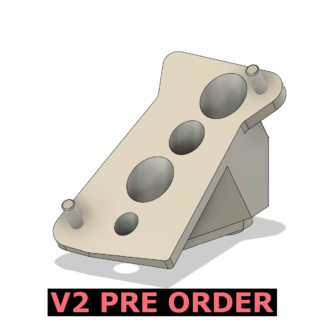
We have created a ECU mounting bracket for most Link, Haltech and ECU Master Black ECU’s
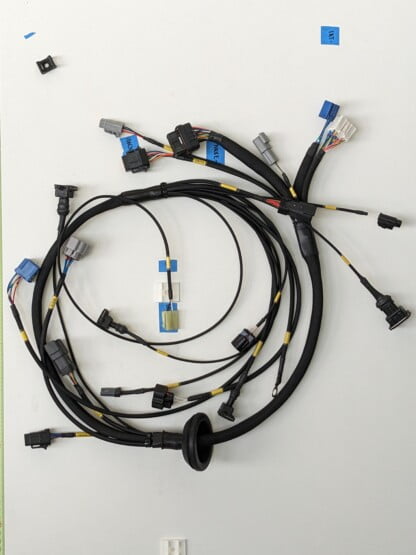
As you might have guessed, that is what we at EP Wiring specialise in. Wiring harnesses are manufactured in house by using motorsport grade Spec 44 Tefzel wire and TechFlex fibreglass braid or DR-25 heat shrink.
For EP91 owners we offer a plugin solution to make the installation process as simple as possible, see the product below.
If you have an EP82 or the above option doesn’t suit and you would like to discuss your options then please get in touch via the contact page, Facebook or Instagram.
