I’d been wanting to convert my own 1998 EP91 Starlet Glanza V to Drive By Wire (DBW / e-throttle) for a while. I upgraded from a Link G4+ Atom to the G4+ Fury so I had an ECU capable of running Drive by Wire which was only 1 piece of the puzzle. I was also going to need a number of custom parts to fit both the electronic throttle body and the electronic accelerator pedal. I’m definitely not the first to do the conversion. Anyone before me had usually made custom 1 off brackets for a pedal and often they were using an aftermarket intake manifold or welding a flange onto the stock intake. Aftermarket intakes usually have Honda or other common throttle body mounts for which there already exists Drive By Wire adapter plates.
I wanted to keep the stock intake manifold, it’s capable of supporting all the power I’m ever likely to run. I’ve seen dyno print outs of over 400 bhp using the stock intake (@gt_advance_ and Spuddy).
Drive by Wire Throttle Body Size
The next question was what size of throttle body to use? The OEM intake has a 50mm port I wanted to use a throttle body with at least this size. Bosch make a 50mm electronic throttle body but it turns out it’s pretty hard to source in the UK. The only place who would give me a price quoted me £1200! So I wasn’t going to be using the 50mm size but how much bigger should I go?
I’ve been using High Performance Academy’s courses since 2016 for both learning to tune my own car and wiring courses (both of which are really good and I highly recommend them). They covered this exact topic on one of their webinars and released a YouTube video on this topic too, see the video below.
The best option for drivability would be sticking with as close to the OEM size of 50mm as possible, not boring out the intake but instead tapering the adapter to the correct size with a cheap and easy to source throttle body which is why I went with the Bosch 54mm (available on the website here).
4E-FTE Intake Prototype #1
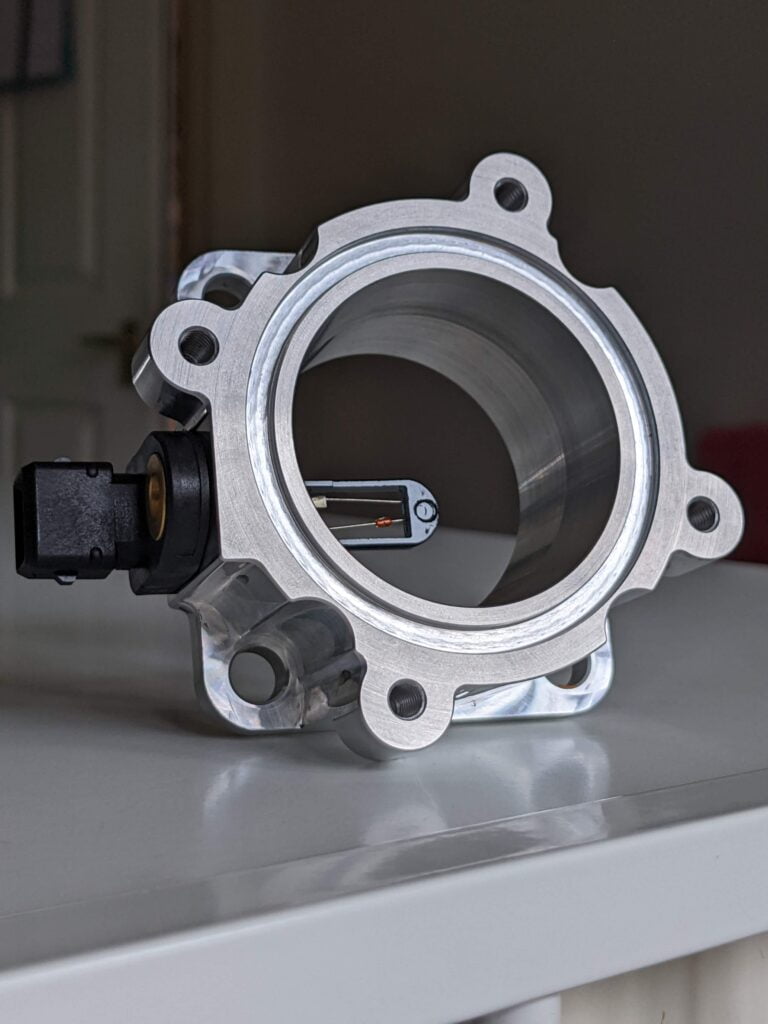
The original prototype was designed and had 2 slightly different 3D printed versions made before ordering the first 6082 Aluminium version made in October 2022. The original design had an air temp sensor port slightly offset of the centre. The idea was it would be in airflow even when the throttle was closed. But when testing, the datalogs show the temperature would plummet the moment the throttle opened. It would also rise about 3 degrees when the throttle was at idle or part throttle for cruise. Chris at Dyna Tune actually pointed this out to me that the design would suffer from heat soak. My testing confirmed this.
This was an expensive mistake to make. I had to redesign the part removing the port from and reducing the height to make it more compact. One off prototype’s are expensive but part of the process. I had to pay the machine shop to redesign the tooling path for the new model. This sadly pushed the price up for the production run.
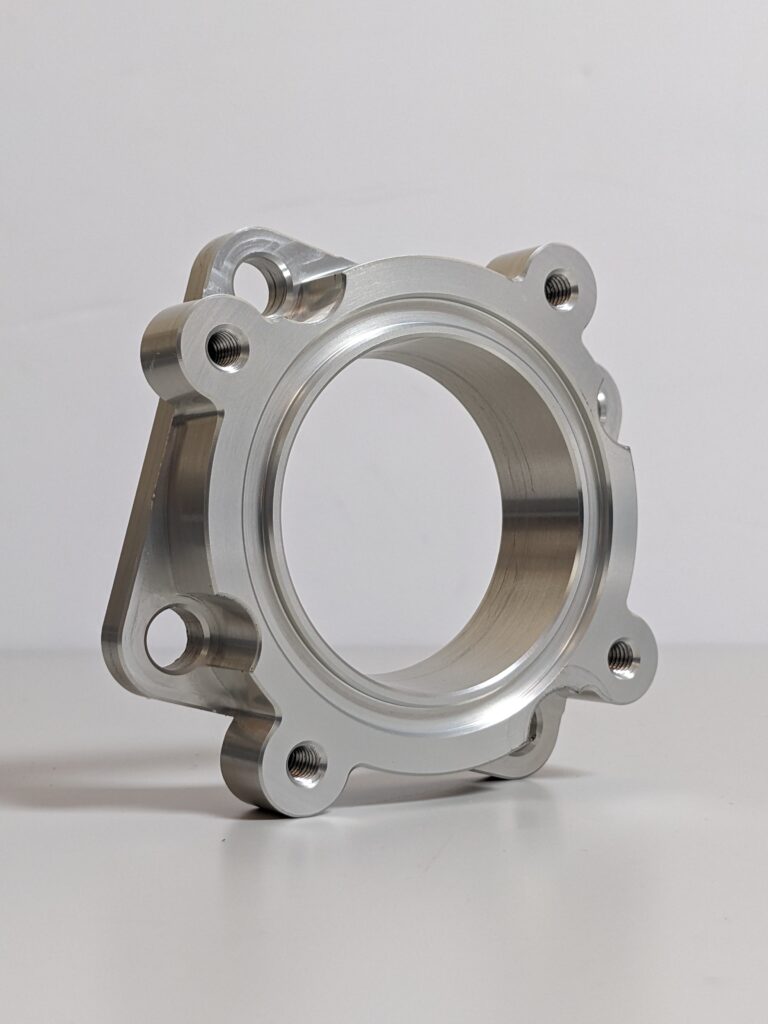
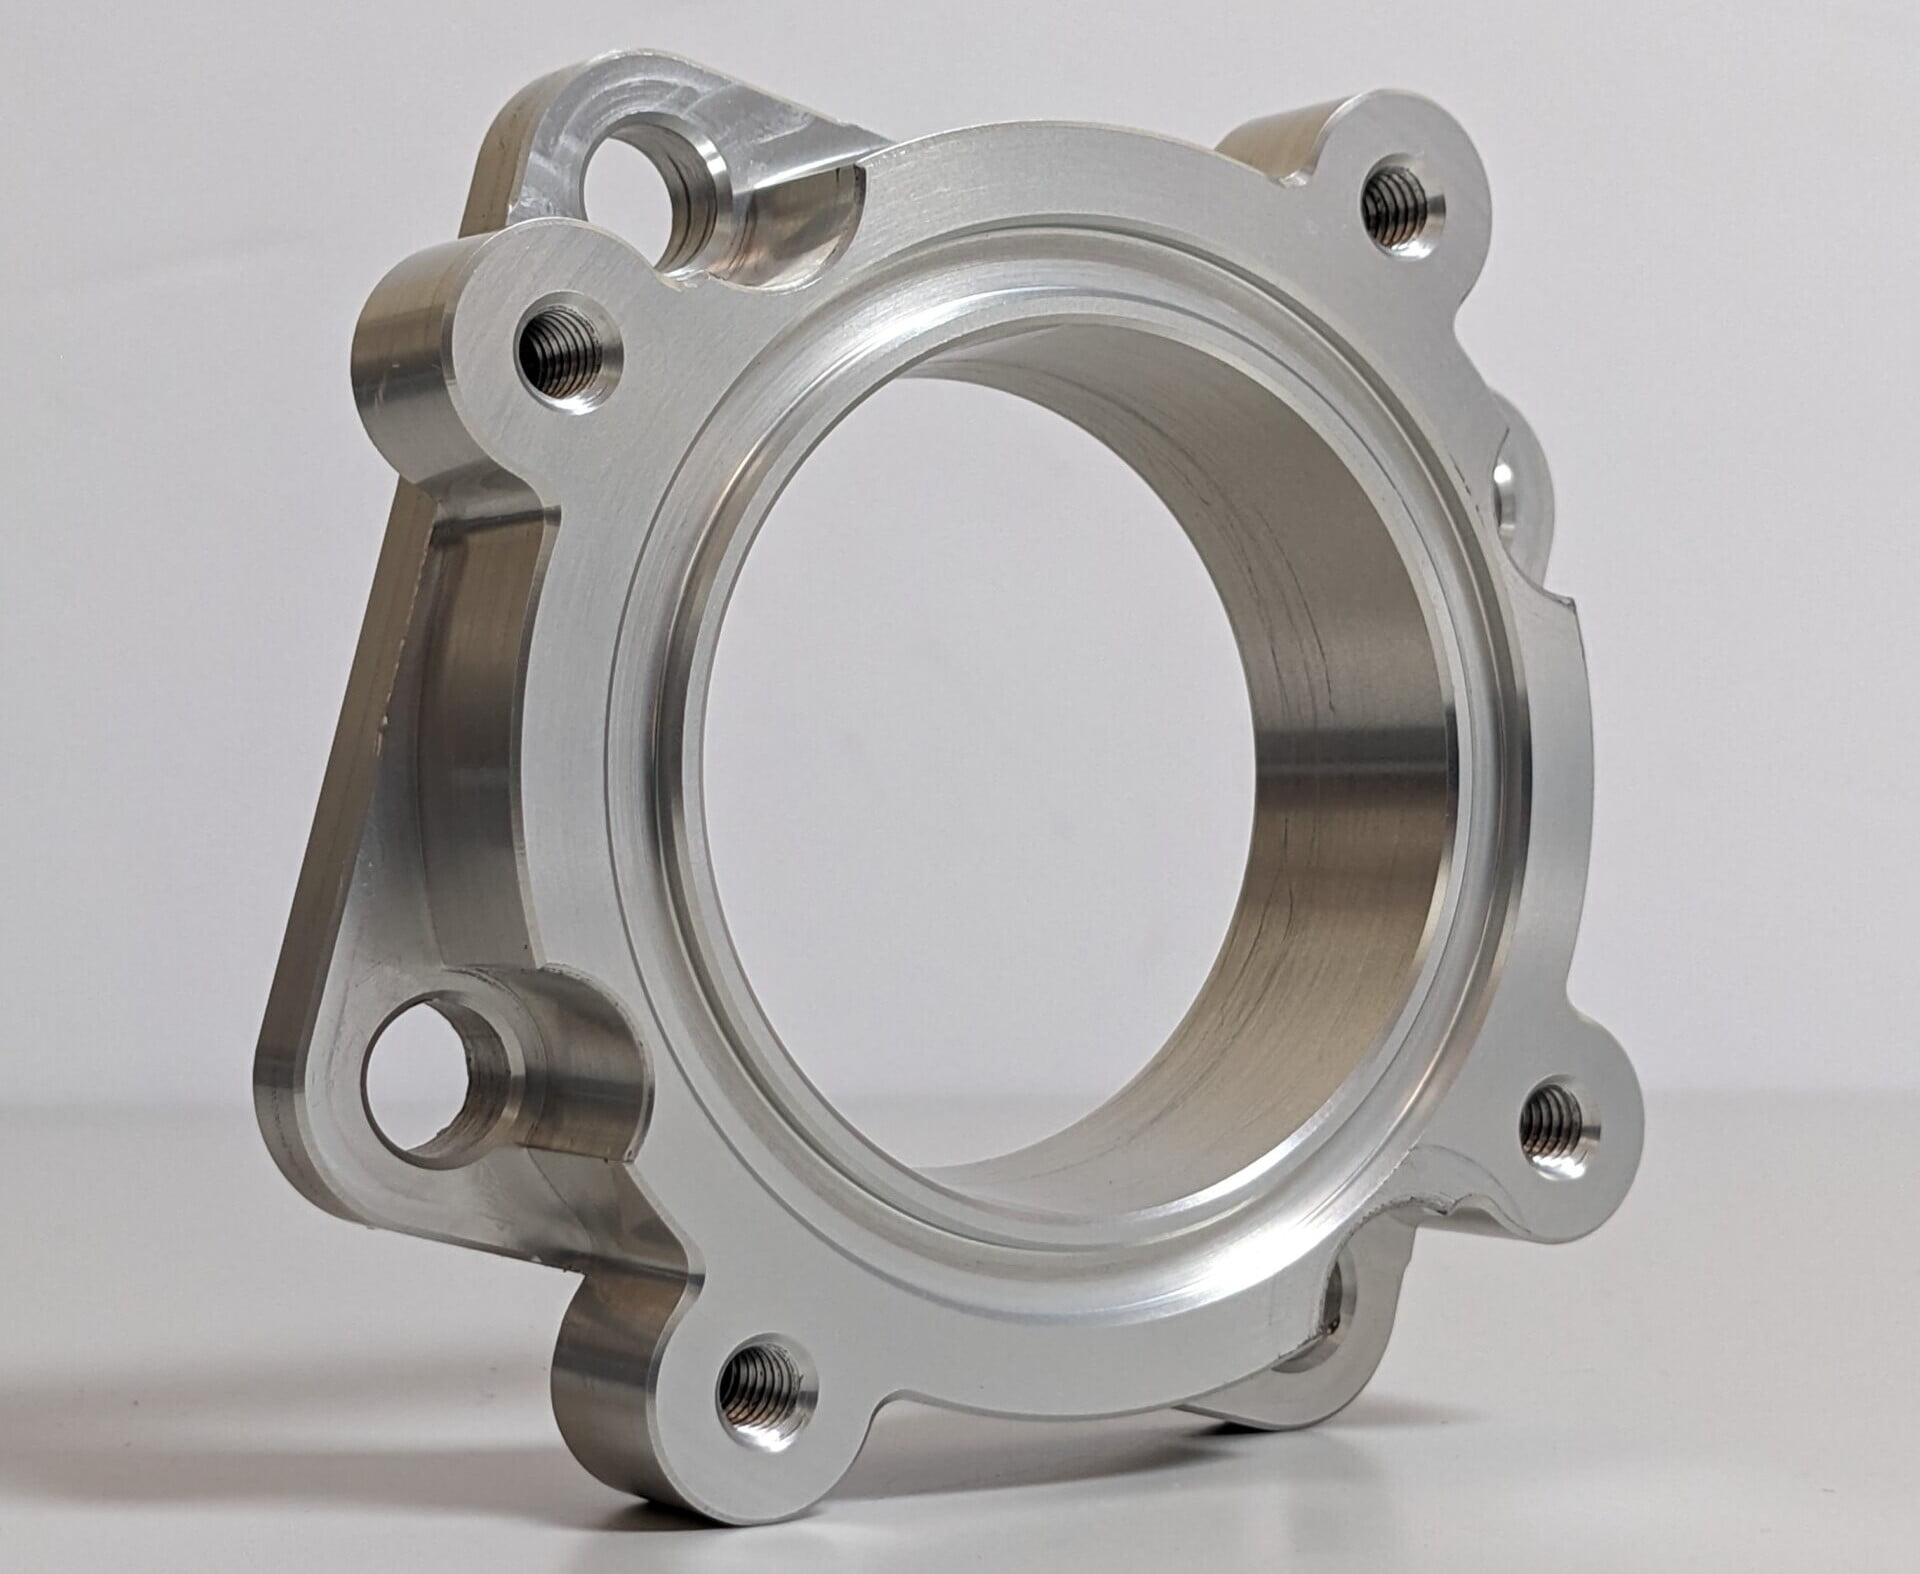
4E-FTE Intake Adapter – Production Version
Finally got the time and funds to update the design and put it into production. I had the production parts anodised clear for corrosion resistance.
With the reduction in height of the part I needed to change the taper angle of the design so that it would go from 54mm at the Bosch side and down to 50mm at the 4E-FTE intake side. Interested to find out if the 54mm throttle body will actually allow for more airflow. The throttle blade at 50mm is a slight restriction in the OEM size so this should effectively mitigate that. It will be interesting to see what power people can make with this setup – please tag me in your results.
I’m really happy with how it turned out and it looks really tidy in the engine bay.
Making the GT86 Electronic Pedal Adapter
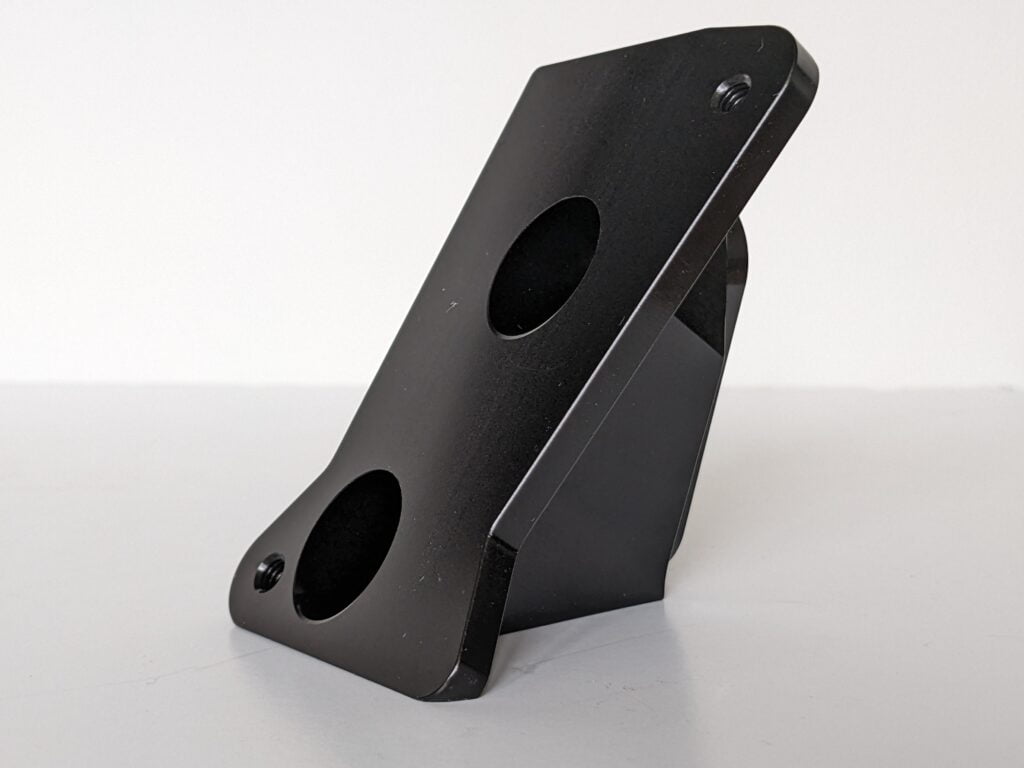
I wanted to use a pedal which could be picked up pretty cheaply. I bought a GT86 pedal from eBay for £20 and set about trying to figure out a way to make it fit. After removing the OEM pedal, I replicated the mounting surface in Fusion 360, then held the GT86 pedal in place and took a load of photos and measurements. Sitting both pedals on my desk and noted that the GT86 actually had about 20mm of extra travel. This wasn’t ideal as the EP91 pedal was basically hitting the floor so my only option was to raise the pedal, luckily it isn’t too noticeable when driving.
The pedal adapter took a lot of 3D printed prototypes until I was happy with the fitment. I considered having them 3D printed from carbon nylon but that was actually more expensive than getting it machined from billet aluminium! Once I was happy I ordered the final design which you can buy here
See the Drive by Wire conversion products in this article below, international shipping available for all parts. Get in touch for a quote if you’re country is not listed in the delivery options.
-
Product on sale
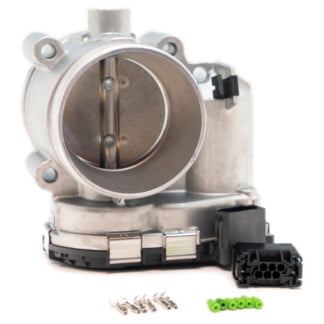 Link ECU DBW Electronic Throttle Body Kit – 54mm (ETB54)Original price was: £234.00.£198.90Current price is: £198.90.
 -
Product on sale
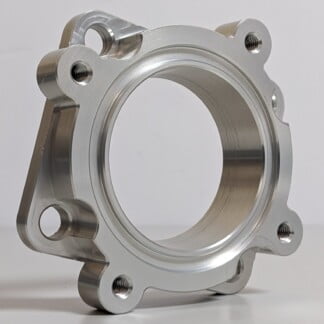 PRE ORDER – DBW Throttle Body Adapter for 4E-FTE IntakeOriginal price was: £115.00.£90.00Current price is: £90.00.
 -
Product on sale
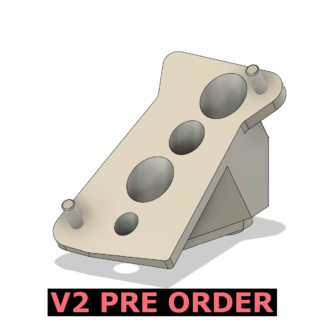 PRE-ORDER V2 – 92-99 EP82/EP91 GT86 Electronic Accelerator Pedal MountOriginal price was: £125.00.£100.00Current price is: £100.00.
